How do I prepare my stairs for painting?
If you’re hoping to revamp your stairs and give them a fresh new look, you’ve come to the right place. Knowing how to paint your stairs can save you a fraction of the cost of replacing your carpet or the staircase itself. Follow our step-by-step guide of how to prepare your stairs before painting.
So, how do I prepare my stairs for painting? Preparation is key when it comes to readying your stairs for painting. In order to prepare your stairs, we recommend that you:
- Check for nails and lay dust sheets
- Sand the stairs
- Fill any holes
- Ensure stairs are free of any dirt or debris
- Paint stairs with primer
- Undercoat treads, rises and sides
Once you have completed all of these steps, your stairs will be ready for painting.
Keep reading to find out more about preparing your stairs for painting.
How to prepare stairs for painting
In this article, we’ll walk you through the steps of how to prepare your stairs for painting. Here is everything you need to know before you begin:
Check for nails and lay dust sheets
Before you start any kind of work on your stairs, it is important that you protect any surrounding areas by covering them with dust sheets. If you’re painting your stairs for the first time and you previously had carpet, you need to check for any nails or staples and be sure to remove them. Remove any loose paint with a paint scraper and finish by sweeping the stairs thoroughly.
Sand the stairs
In order to get the best results, you will need to sand your stairs. There is a good chance that the stringers or sides will already be painted. If this is the case, you can sand these with medium to fine sandpaper depending on their condition - a 120 grit sandpaper should do the job nicely.
However, if the treads and risers are unpainted, they will need to be sanded with a coarse 80 grit sandpaper. Using an electric hand sander will make the job a lot quicker and easier but we do realise that not everyone has access to this kind of tool. Remember to wear a dust mask and safety goggles to protect yourself from the dust. Once you have finished sanding, sweep or vacuum the stairs to get rid of any dust.
Fill holes
Next up, you’ll want to check for holes or areas that need filling. Fill the holes with a good quality wood filler. Take a look at our selection of Premium Joiners Grade and 2 Part High Performance Wood Fillers at Jackson Woodturners.
On older stairs, it is quite common to see small gaps between the treads and risers. Filling these in will create a complete finish. Once the filler is dry, rub down all parts of the stairs with a fine grit sandpaper, a 180-220 is ideal to achieve a smooth finish.
To finish, rub your fingers along the sanded areas to check if they are smooth enough. If not, continue sanding until you are happy with the result.
Ensure stairs are free of debris and dirt
Before you apply your primer, you’ll want to make sure that your stairs are free of debris and dust. Using warm water, a mild cleaning detergent (washing up liquid will work) and a clean cloth, get rid of any dirt left over from sanding. After washing, let the stairs dry completely. You’ll want to leave them for at least 24 hours.
Paint stairs with primer
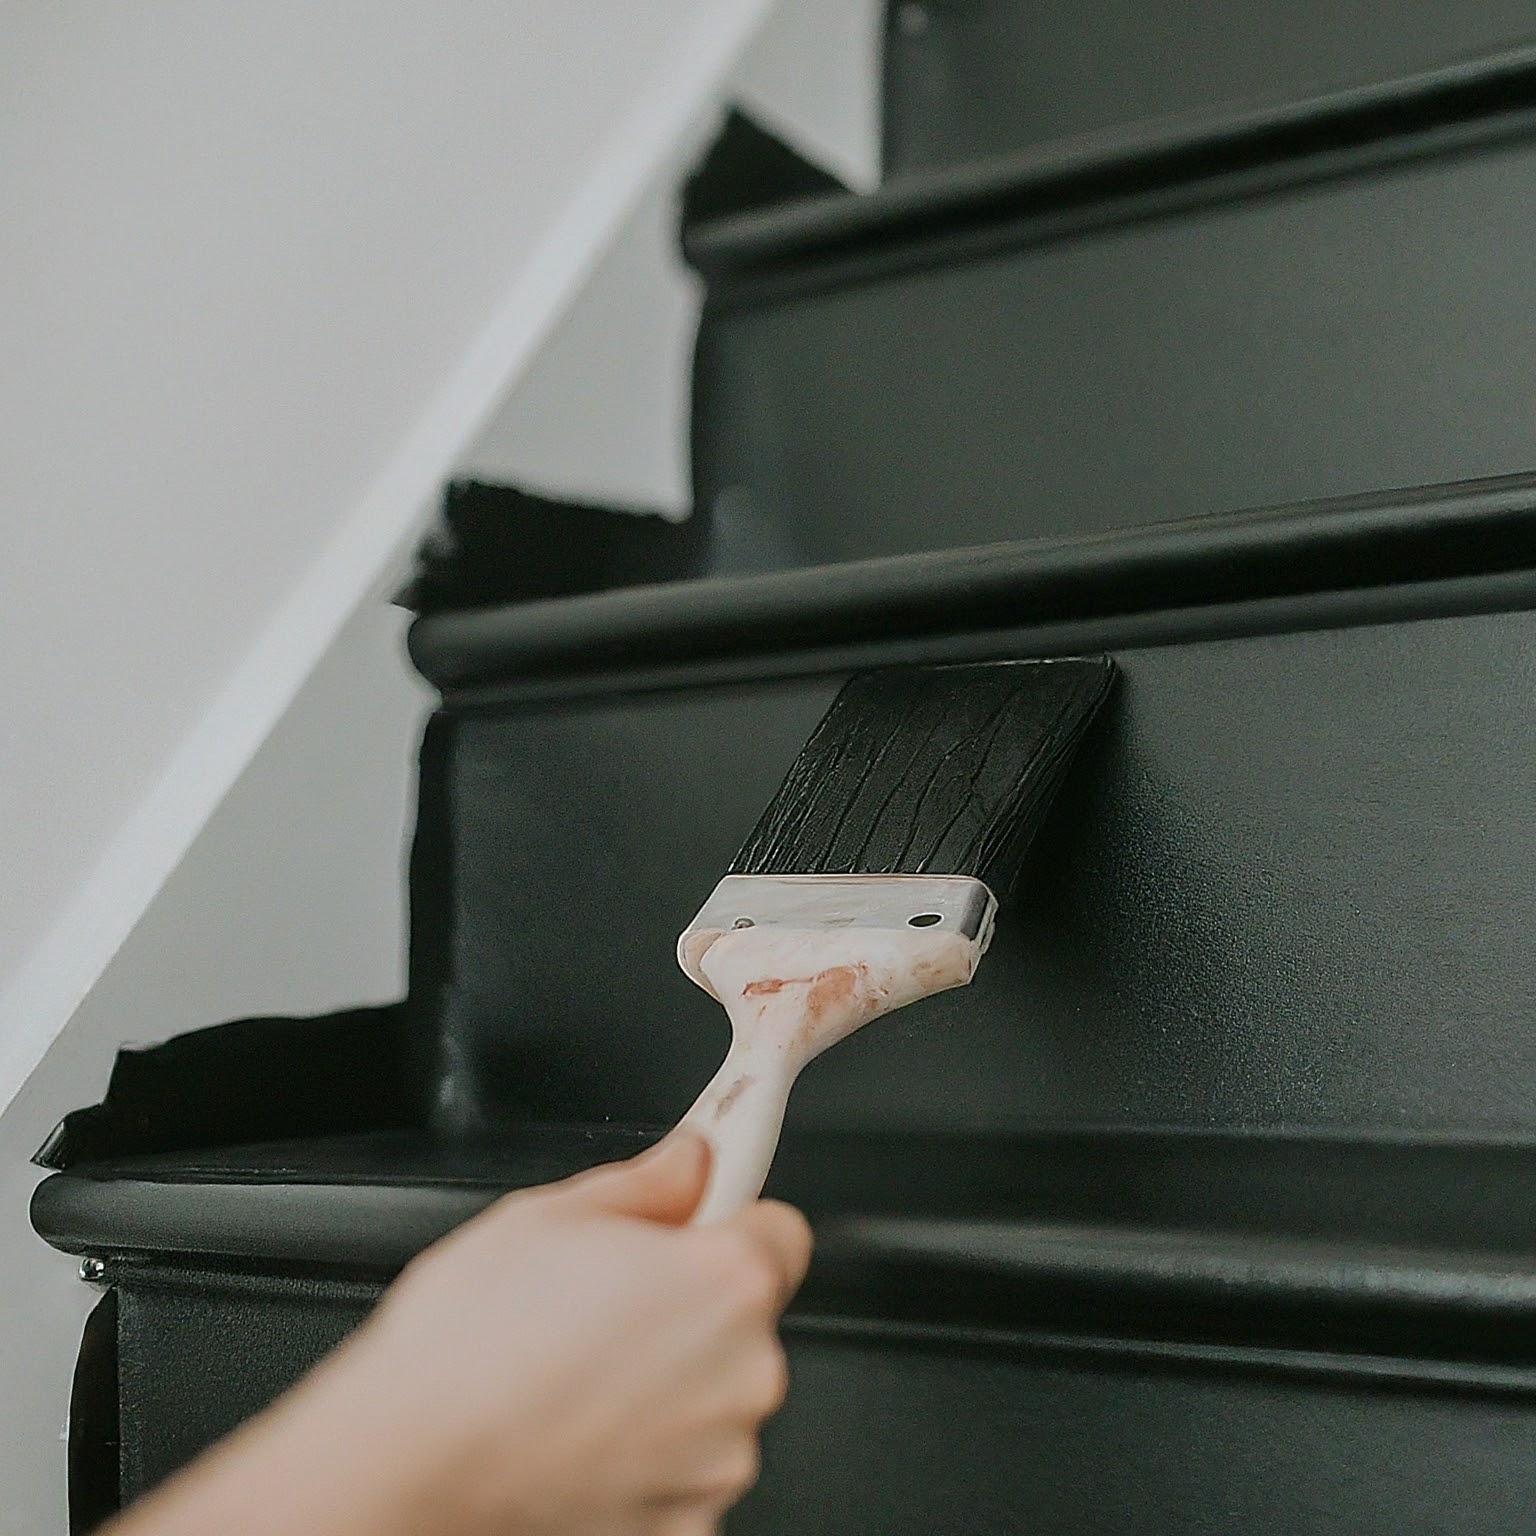
Now for the first bit of painting. You’ll want to add a primer to any bare wood stairs, typically the treads and risers. Start at the top and work your way down using a 2-inch brush. Try not to overload the brush and remember to dab the brush into the difficult areas, such as under the tread. Then you can paint the front edge of the tread before moving onto the edges of the riser and the next tread down.
Using even brushstrokes, go from one side to the other, left to right if right handed to complete the tread and riser. Repeat the process down the rest of the stairs. Once the primer is dry, lightly rub down the stairs with a fine grade sandpaper. A 320 grit is great for this task. Complete this step by cleaning the stairs ready for the next coat of paint.
Undercoat treads, rises and sides
With a base coat in place, it’s now time to add an undercoat. Once again, start at the top of the stairs and paint the sides first. Try not to overload the brush as thin coats are better than thick coats. Start at the top and work your way down, doing two to three steps at a time.
Then you can go back and paint the treads and risers as mentioned above. Repeat the process until finished. Let the paint dry and give it a quick rub down and clean. Make a judgement call on whether to add another coat of undercoat.
Top coat
Now your stairs are ready for you to apply your chosen floor paint. Apply the paint in the same way that you applied the undercoat. You can use a foam roller on the treads and risers to get a smoother finish. Ideally, you’ll want to leave the paint undisturbed for at least 24 hours to let it dry properly. However, if this is not possible, leave the stairs as long as possible or at least the minimum recommended by the paint manufacturer.
Whilst you can use pretty much any paint when it comes to wooden stairs, there are certain paints that are designed for floors that see higher levels of foot traffic and are therefore required to be more durable. For risers, semi-gloss or satin paints are typically preferred. If you can, always opt for floor paints because they are designed to be non-slip and more durable than other kinds of paints.
Tools needed to prepare your stairs
Here is a list of the tools you’ll need to prepare your stairs for painting:
- Dust sheets
- Sandpaper
- Wood filler
- Filler knife
- Paint brush
- Primer/undercoat
- Floor paint
- Cleaning solution and cloth
- Paint scraper
Top tips before you get started
Here are some other factors you may not have considered before beginning your stair project:
- Remember to start early or when the rest of the household are busy and don’t need access for a while. Or you could make a start when everyone has gone to bed for the night. This will avoid disruptions and disasters.
- Factor in time to ensure that the paint is fully dry before anyone walks on it. The longer you leave the stairs to dry, the more hard-wearing they will be. If your only toilet is upstairs, you’ll need to plan around it.
- Our top tip is to remember to paint in order. Start at the top and work your way down. Or vice versa depending on where you want to finish, you really don’t want to end up getting stuck on the wrong floor. While this may sound obvious, it can be easy to get caught out.
For more information about how to successfully install your staircase, take a look at our helpful guide, ‘8 Steps To A Successful Staircase Installation’.
Prepare your stairs for painting with Jackson Woodturners
At Jackson Woodturners, we know how important it is to create the staircase of your dreams. With our team of stair experts on hand, we can advise and help you plan and design your stairs to make this a reality. We also offer a range of stair products to help you prepare your stairs before painting, such as our quality wood filler.
With trade prices available to all, we can help you build your staircase project efficiently and affordably. Our price promise guarantees that we’ll beat any like-for-like quote.
Get in touch with us today for more information about your up-and-coming stair project.


