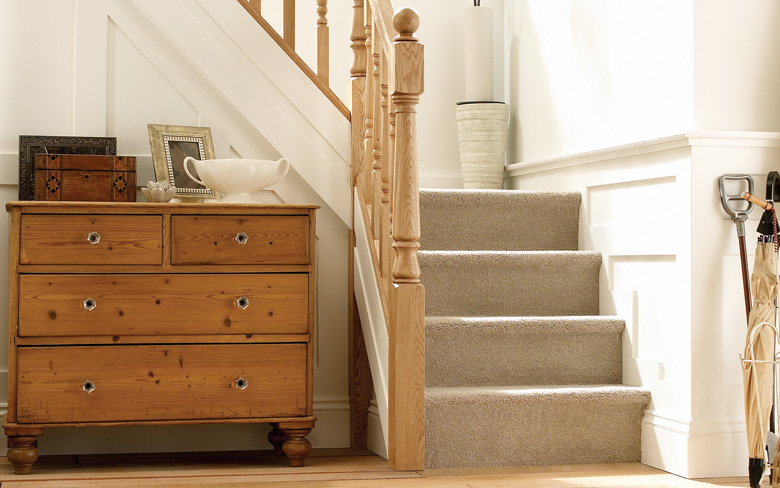
If your newel post becomes loose, you should be able to fix it yourself with the tips below. But if you’re not an experienced DIY-er, always ask an expert to help!
How to fix a wobbly newel post to a newel base
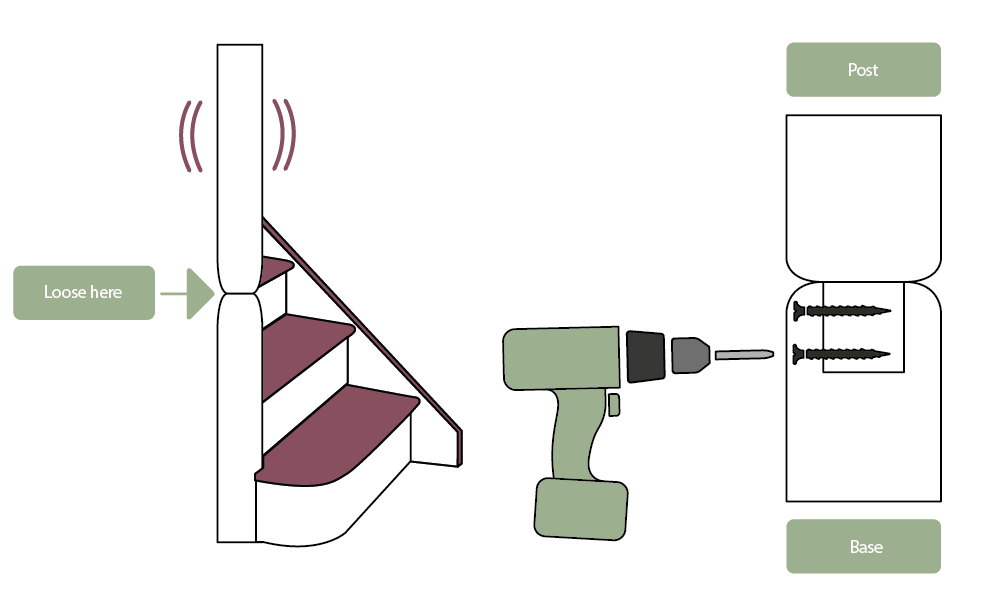
Some newel posts are made up of two parts—the newel base and a separate pegged newel post glued into the base. Sometimes, general wear and tear can break the glue used to bond the post, causing the post to wobble.
Replacing the post is one option, but this can be a huge project and it’s much easier and cheaper to simply repair it.
Below, Andy Fenton-Coopland from bespoke staircase specialists Reginald Coopland shares his top tips for fixing wobbly newel posts.
- Drill into the top of a newel base within 70mm of the top of the base to ensure the screw enters the newel post peg.
- Choose a good-quality no 10 or no 12 countersink pilot drill bit so you can drill a hole for the screw to go into. This will help stop the wood from splitting and allow you to cover the screw head with a suitable wood pellet. The pellet should match the newel post timber. Try to keep your two holes in line for a neater finish.
- Make sure you use a screw which is roughly two thirds the width of the newel post. This will ensure the screw doesn’t protrude through the other side of the post when installed. A screw good suggestion would be a 5.0 x 70mm or 6.0 x 70mm screw for securing a 90mm wide newel post to a 90mm newel base.
- If possible, install the screws in the side of the newel base that’s least visible on the stairs. When drilling your hole, make sure it’s deep enough to install your wood cover pellet.
- Tap the wood pellets into the hole your screw fitted into. For an easier finish, you can mask round the protruding pellet and then sand it down steadily until it’s as close to the surface of the newel base as possible. You can then carefully match the finish with a small paint brush.
The pellet may stick out slightly but this will be the best way of finishing off the job if you’re not comfortable in matching the finish of the newel base. Most finishes change over time and you can always mask round your pellets and give them a little sand later to match the finish.
Sanding the whole side of the newel base will be much harder to blend into an existing finish than the heads of your two pellets.
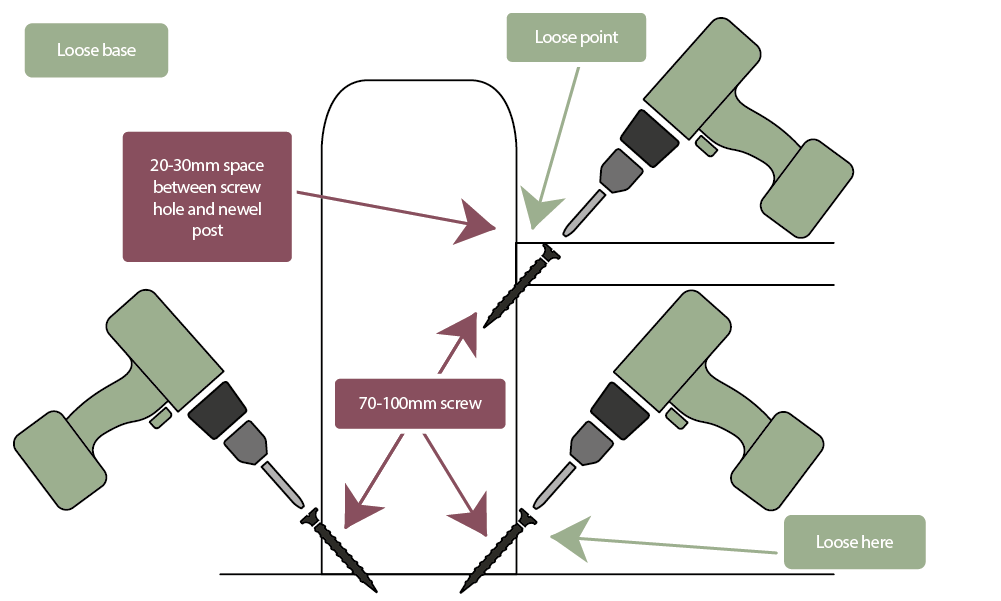
How to fix a wobbly newel base to a step or the floor
It’s common for a newel base to come loose from the step or at the floor level. Andy Fenton-Coopland from bespoke staircase specialists Reginald Coopland shares his expert advice on fixing a wobbly newel base.
- Using a countersink pilot hole bit, drill at a 45-degree angle through the staircase tread down towards the newel post. Leave a good 20mm–30mm between your pilot hole and newel post side so when you tighten your screw you don’t break the tread. Choose a no 10/no 12 countersink bit with a 5.0 x 100mm screw or 6.0 x 100mm screw.
- When you’re securing a newel base to the floor, check for any pipework, wiring and alarm or telephone wires before you drill as wooden floors often have service wires running under them.
Fixing a newel base to a concrete floor
Before you start, check under the concrete floor for pipes. (It’s unlikely there’ll be wires, however.)
You’ll need a suitable masonry drill bit to be able to insert a rawl plug into the concrete floor. Using a screw with the rawl plug will help ensure the newel post is fixed securely to the floor.
- Using a similar method to fixing a newel base to a wooden floor (see above), drill downward at a 45-degree angle to the post with a countersink drill bit. You can then install the screw and fill the hole with a pellet as described above.
- With a concrete floor, you’ll need to drill through the newel base with a suitable masonry drill bit after you’ve drilled with your countersink bit. The masonry drill will go all the way through the wood into the concrete so you can install a rawl plug.
Use a 150mm-long 7mm masonry drill bit in a standard battery drill on hammer action setting. You’ll then need to insert a 7mm (usually brown) rawl plug into the hole on the base until it’s level with the surface. - Then take the screw and insert it into the rawl plug, giving it a couple of twists by hand (not too much to push the plug out, as you’ll use the screw to tap the plug through into the concrete).
- Using a hammer, tap your screw until there is roughly 30mm of it left stuck proud of the newel base. Then use a screwdriver to tighten the screw down into the newel base. Don’t be afraid of taking the screw out and trying again a few times to insert a new plug and get the screw to hold tight—these don’t always bite!
- If you feel like you want the hole a little deeper, just drill down again with your masonry bit. Even with your plastic rawl plug in the hole you can drill through it. Don’t be too worried about cleaning the hole out too much either. The tighter the rawl plug is in the concrete, the better fixing hold you’ll achieve.
Return to Your complete guide to stair newel posts.


