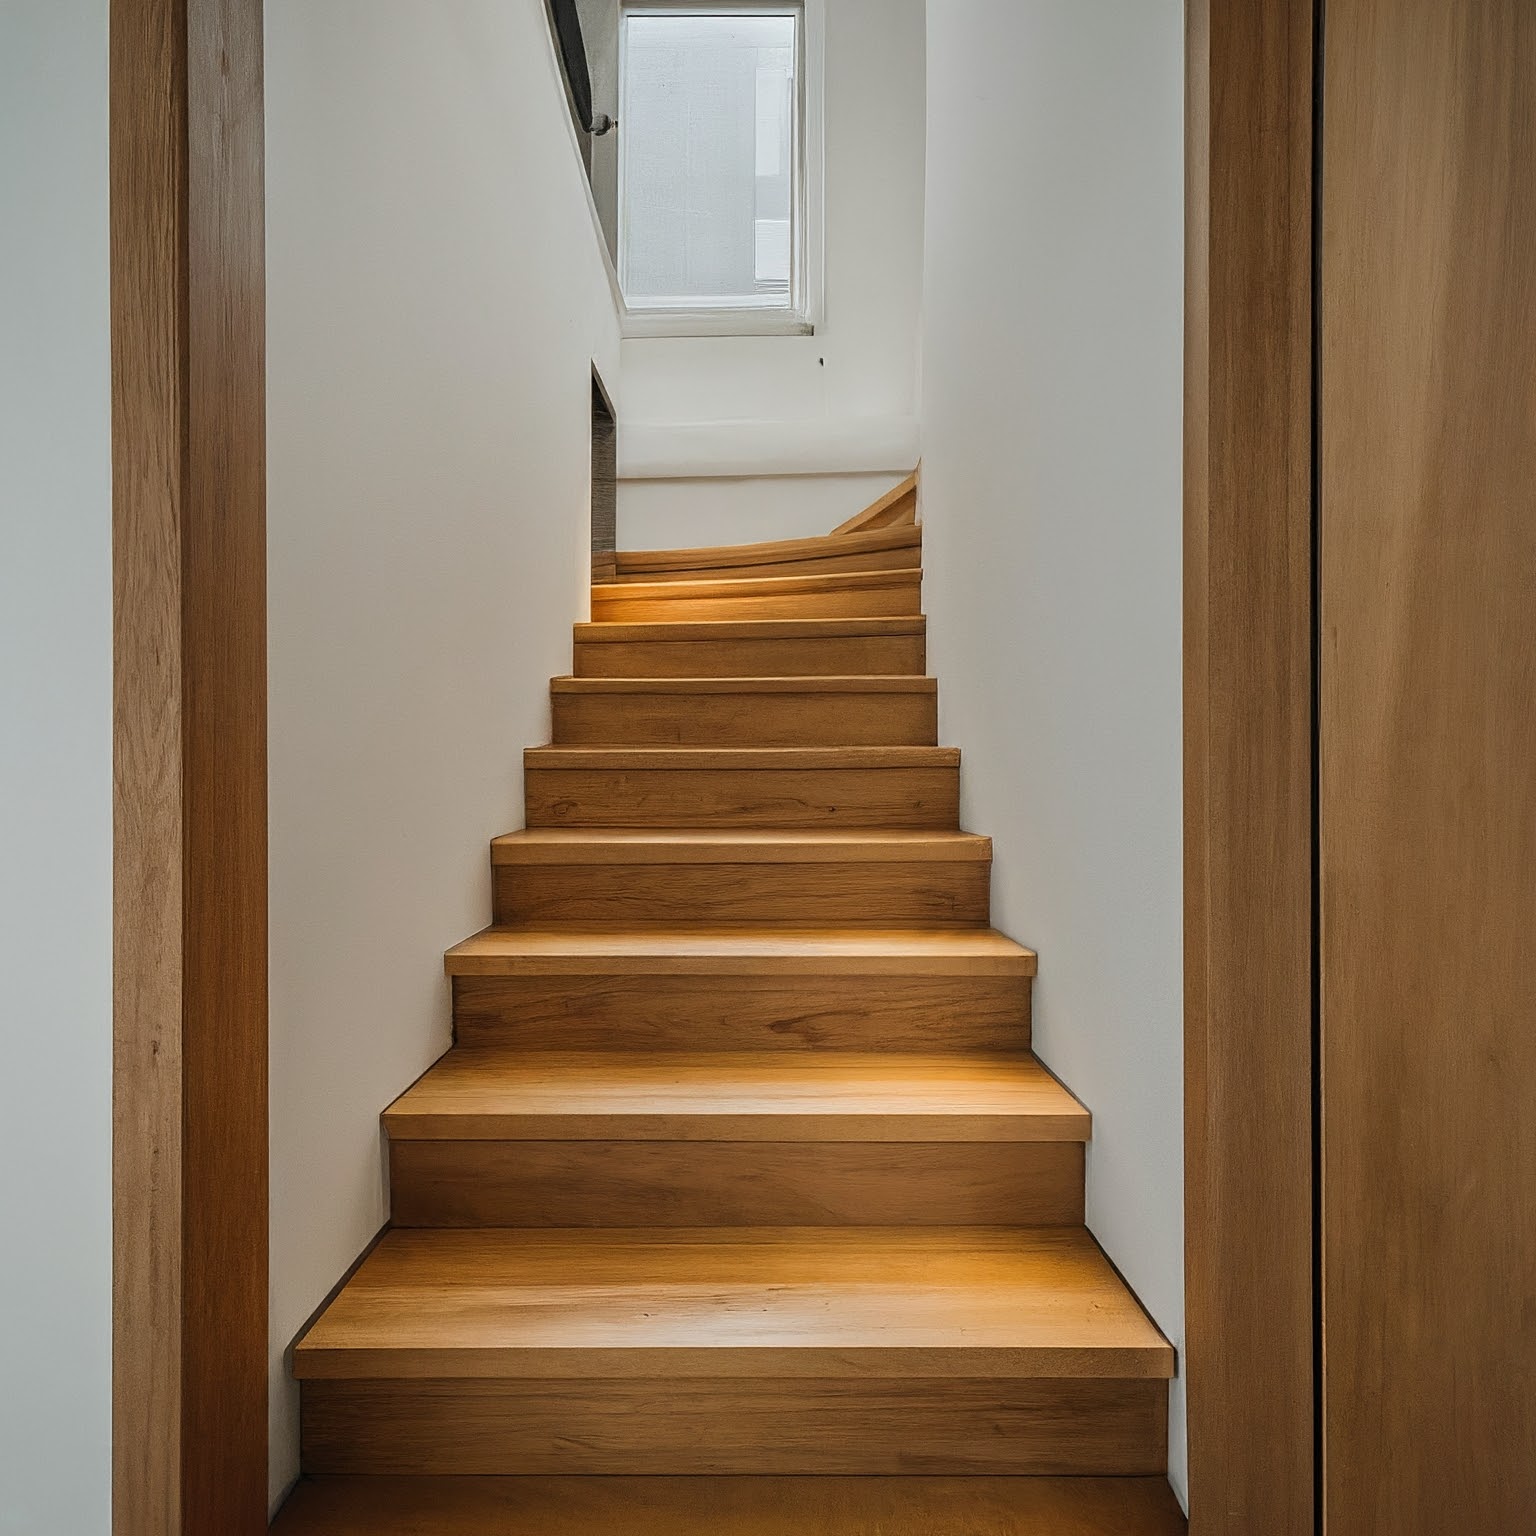
Expert tips for creating a staircase gallery wall
A great way to make a statement above your staircase is to create a feature out of artwork, otherwise known as a gallery wall. Gallery walls can be laid out in all manner of different configurations to suit the shape and style of your staircase and can create a striking feature, (when executed correctly!) in an area that can otherwise be difficult to dress. But, how easy is it to create a gallery wall?
It’s not just a case of sticking up your favourite pieces, you need to consider factors such as the size of your images, the frames, how you’re going to hang them and more. Trickier than first thought. Whether you display a collection of family photographs, a selection of colourful abstract art or a series of black and white photography, the possibilities are endless and with a bit of guidance you can create a great feature in your home.
No two staircases are identical and, as a result, there are many different approaches to creating an effective gallery wall. It can be difficult to know where to start so we spoke to interiors expert Shelley Carline and asked her to share her top tips and advice for creating a staircase gallery wall. Here’s what she had to say:
1. Think about the size of your staircase
Narrow staircases, or those that are closed in with walls on both sides, may not have sufficient space to display pictures on the side walls.
An effective solution for decorating a staircase with limited space is to display pictures at the top or bottom of the flight of stairs. You could also incorporate mirrors into your design to give the illusion of more space and maximise the available light.
Shelley's advice: I would use fewer prints for a narrow staircase as it could look too cluttered—probably a group of around 5-6 different size prints. I would be a bit more adventurous with a wider staircase and use a larger selection of prints.
2. Work with the configuration
Staircases come in many shapes and sizes, so different gallery wall configurations are likely to work better with particular layouts. Turns in the stairs can create design opportunities, and picture formations expanding out from a corner can look particularly effective.
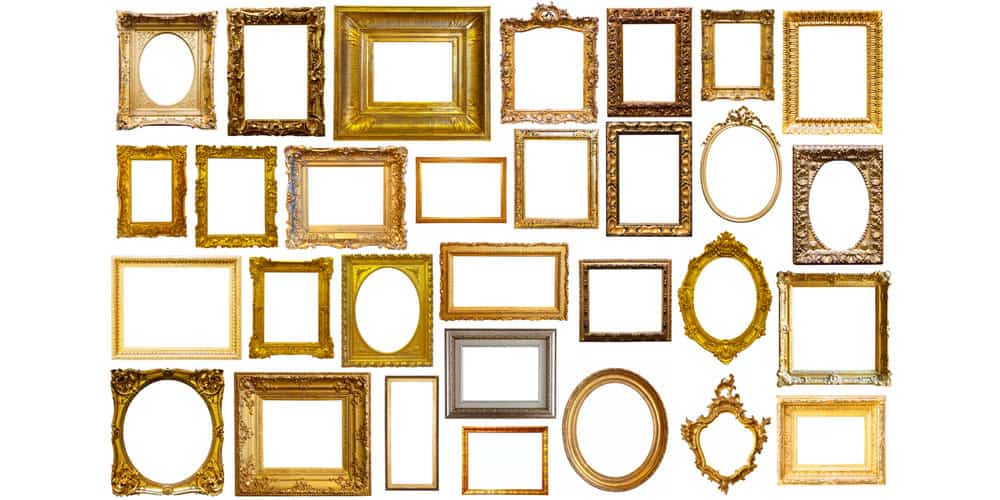
3. Choose your style of frame
There are a wide range of inexpensive frames available on the high street, from simple, minimalist styles to more elaborate, decorative designs.
Consider the material of your balustrade when choosing frames. For example, traditional wooden handrails, such as oak handrails, could be complemented with rustic frames in similar tones featuring the same type of wood. Alternatively, sleek glass balustrades work well with minimal, modern frames and metal spindles look great when paired with more ornate frames in monochrome tones.
Gallery Wallrus specialists in picture hanging, advise: “It all depends on the style of the staircase. We like eclectic styles but a traditional design might suit something sleeker. I think using frames that are all the same colour and size, such as nice thin black or wood frames would be fine.
Shelley's advice: I always decorate eclectically so I’d suggest using a selection of different frames ranging from inexpensive shop bought, to vintage. For a simpler, more uniform gallery wall you could try painting a range of different style frames in the same colour.
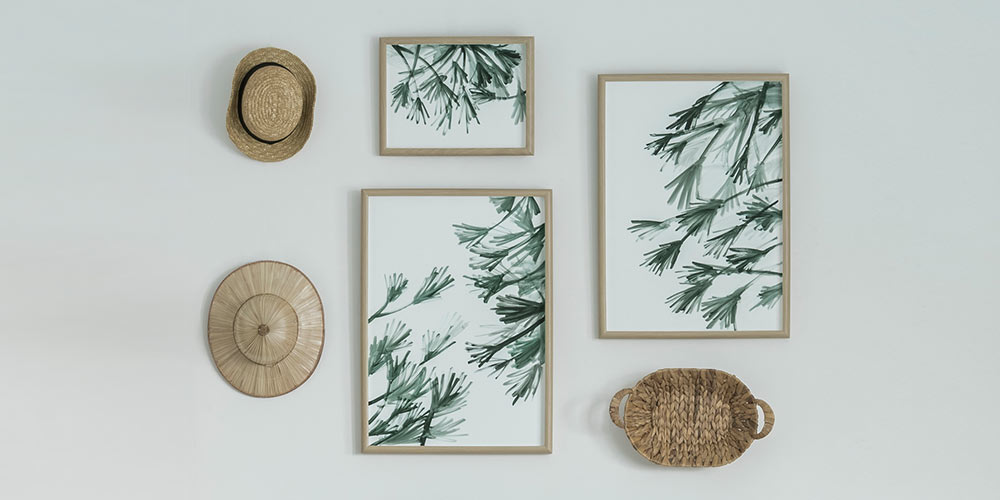
4. Think about what you would like to display
Gallery walls can be used to display anything, not just artwork. Photographs, posters, mirrors and even collections of memorabilia can all make a striking wall feature. As long as what you hang doesn’t protrude too far out from the surface of the wall—and it is light enough to be suspended from a hook. You don’t want to be knocking anything from the wall.
Shelley's advice: Mirrors are great for creating an eclectic look and I tend to mix in things like typography letters, hanging plants and empty vintage frames. I like to use a mixture of prints, colours, vintage and new frames of all different sizes.
If you were looking for a contemporary, minimalistic look I would stick to one theme, using prints of similar tone and the same type and colour of frames for clean lines and not too much fuss.
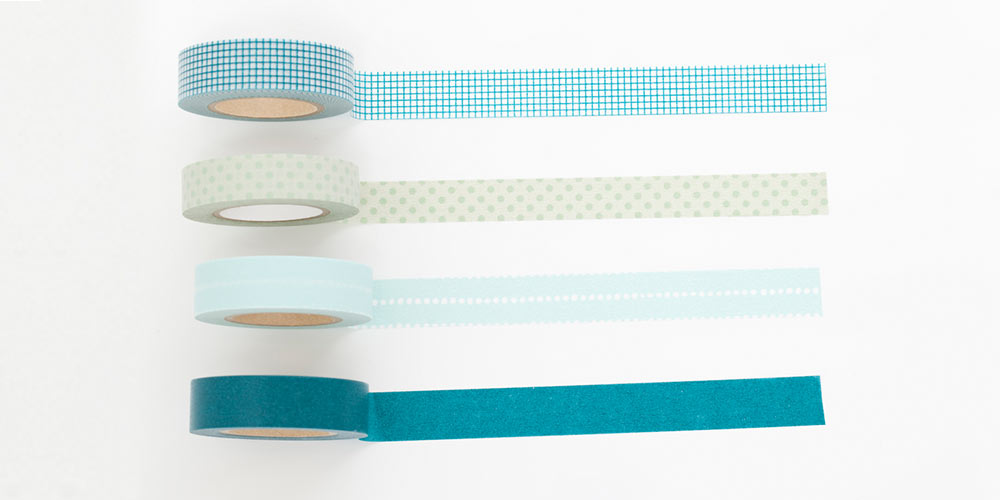
5. Plan before you hang
Before you commit to hanging your artwork on the wall, play about with your layout to work out the best way for your pictures to sit together. Look at different templates (we’ve included some below), and work out which configuration will work best with your available space. It’s a good idea to mark out your gallery layout on the wall using washi or masking tape before hanging, although make sure you test the tape in an inconspicuous area first to avoid damaging the wall surface, as this can sometimes peel off paint with it!
Shelley's advice: I start by collecting my selected frames, objects and prints together and then planning a basic layout on the floor. I then start to hang the frames and prints on the wall until I am happy with the layout. Finally, I would fill in any gaps with smaller items. I occasionally measure, but usually do it all by eye.
Gallery Wall Templates
1. Simple configuration for larger prints
2. Squared off configuration using different sized and shaped frames
3. Balanced configuration with staggered frame sizes
4. Randomised configuration, ideal for including ornaments and mirrors
5. Configuration in line with staircase rise – ideal for narrow or steep stairs
6. Configuration in line with staircase rise – ideal for wide or shallow stairs
7. Top of stairs configuration – suitable for very narrow or build in staircases
6. Hanging tips
When hanging anything above a staircase, it is essential that it is securely attached to the wall as there is often a significant drop over the stairs. Check the condition of the wall to ensure it is strong enough to support your frames. If the plaster appears to be crumbly, you may find that basic picture hooks won’t stay in place, in which case you may need to create permanent fixtures by drilling into the wall—even more reason to double check that your positioning is right!
Also, consider the height of the pictures, they will need to be high enough so they don’t get knocked, particularly on narrow staircases. Aside from the safety risk of the picture falling from the wall, a wonky picture will ruin the overall effect of the display. So it might also be handy to have a spirit level ready to ensure that your frames are straight.
Shelley's advice: Avoid using nails and go for command strips as I now have hundreds of holes in the wall! Command strips are a great alternative to traditional hanging methods, they are only recommended to be used on painted walls however.
High quality stair parts at Jackson Woodturners
Jackson Woodturners offer a wide range of stair parts. So, if you’re giving your decor a facelift, getting the right stair parts and design for you can enhance the look of your home, and make your space more inviting. Why not browse our products and get some inspiration for your staircase. We are always happy to help, if you have any questions for our team don’t hesitate to get in touch.
Gallery wall FAQs
How far apart should pictures be when hanging?
This is totally up to you and your preference. You can do it by eye, or if you want an equal distance between your pictures you could measure a 1.5 to 2 inch space. If you have round frames this could be trickier to enforce.
Can I use Command strips to hang pictures on the staircase?
If your surface is painted and the plaster is in good condition then using command strips is a great alternative to using nails. The adhesive backing of the strips can last a really long time but they are not recommended for use on wallpaper, as they may not adhere well.
Can you have too many gallery walls?
You can still have gallery walls in other rooms if you opt for one on your staircase. To keep your home interesting you could ensure that the different rooms feature very different pieces in keeping with the overall decor of that space.


